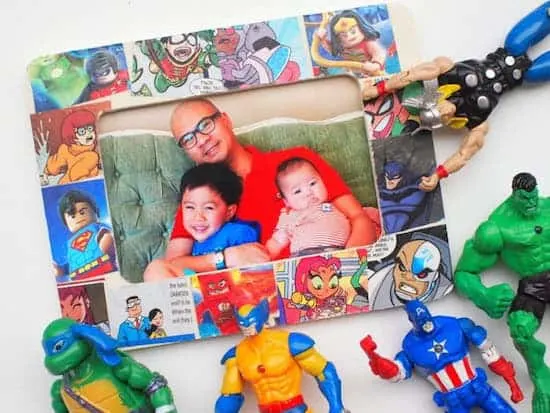
Photo Frame
Photo Frame
Create your own special memory with a frame that shows your individuality.
Your Photo Frame Kit contains: a plain wooden photo frame, stickers, charms and a small jar of Modge Podge.
*Modge Podge is a water-based adhesive that will allow you to attach paper and 3D objects to your frame.

Written Directions for Frame Project
Great Morton Memories Picture Frame Project
Your kit should contain:
One plain wooden picture frame
-
Assorted sticker decorations
-
Assorted charms and 3 dimensional decorations
-
Small jar of Modge Podge (glue)
-
One medium paint brush (for glue)
Congratulations on your Graduation!
Celebrate this milestone by creating a one-of-a-kind picture frame. Before you start, think about the type of frame that you want to create and what type of photo you would like to highlight. Look at the examples on the Photo Frame page of the Lib Guide.
https://mehs-morton201.libapps.com/libguides/admin_c.php?g=1142164&p=8333087
Position Your Decorations
I would suggest that you position the decorations, stamps stickers or charms on the frame. Move them around until you are pleased with the effect. Once you are pleased with the arrangement, start gluing them in place using the directions in the next paragraph.
Gluing the Decorations to the Frame
The small jar contains a type of glue called Modge Podge. You can use this to glue any type of paper to the frame. You can cut out the paper decoration and paint the frame area with Modge Podge using the paint brush provided. Then gently paint Modge Podge ON TOP of the decoration as well. It will look white on top of the paper but it will dry clear. While the Modge Podge is wet, you may still move objects around. It is very sticky but will clean off of you and the paint brush with soap and water.
Adding Your Photo
The final step is adding your Morton Memory photo into the frame and ENJOY!
Photo Frame Decorating Article - GREAT examples!
- Photo Frame DecoratingThis article contains lots of good examples of creative decorating ideas with inexpensive photo frames.